
Table of Contents
In the previous article, I have explained how to deploy a Node.js application to Heroku. In this tutorial, we will be making use of the endpoint created there and see if we can use it in our React project.
Project Setup
Let's create a React project using the following command:
1npx create-react-app react-cors
Now update the App.js with the following code:
1import { useEffect, useState } from "react"2import "./App.css"34function App() {5 const [message, setMessage] = useState("")6 useEffect(() => {7 fetch("https://nodejs-using-github.herokuapp.com/")8 .then(response => response.json())9 .then(data => {10 setMessage(data.message)11 })12 .catch(err => console.log(err))13 }, [])14 return <div className="App">{message ? message : "Loading.."}</div>15}1617export default App
Here we have a local state called message, which we show to the user.
If the message is empty, then we display them with a loading text.
When the component is mounted (useEffect), we make a call to the API endpoint and fetch the message.
Now let's run this and see if it works:
1npm start
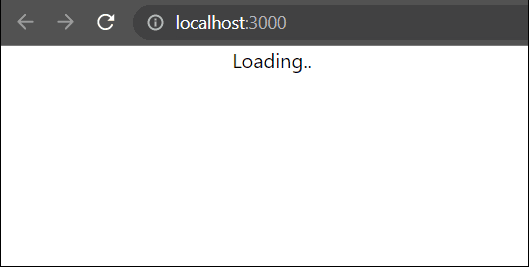
You will see that only "Loading.." text is displayed and the message never loads. If we inspect the page and see the console, we will see the following error:
Access to fetch at 'https://nodejs-using-github.herokuapp.com/' from origin 'http://localhost:3000' has been blocked by CORS policy: No 'Access-Control-Allow-Origin' header is present on the requested resource. If an opaque response serves your needs, set the request's mode to 'no-cors' to fetch the resource with CORS disabled.

In the next sections, we will see what is CORS and how to fix this error.
What is CORS (Cross-Origin Resource Sharing)?
CORS stands for Cross-Origin Resource Sharing, which is an HTTP header based mechanism that helps the server to tell the browser, from which all domain requests can be made (except the same domain).
That is, in our case, the Node.js server hosted at https://nodejs-using-github.herokuapp.com/,
does not tell the browser that request can be made from http://localhost:3000.
When this happens, your browser will throw an error as seen earlier.
Why CORS (Cross-Origin Resource Sharing)?
The next question that would come to your mind is why do we really need this mechanism. Imagine you are logged into your bank account or any social media website, then you visit a malicious website. This malicious website could run some scripts in the background to make API calls to your banking or social media to get your personal details.
To prevent this, your browser checks if the request to the banking or social media server can be made from the malicious website and throws the CORS error.
So CORS exists to share certain resources between trusted third-parties (across different origins/domains), hence the name Cross-Origin Resource Sharing.
How to configure CORS in Node.js
Since we are clear about what and why is CORS required, let's see how to enable CORS in the Node.js application.
You may clone the Node.js code from this repo. Once the project is cloned, open it in your code editor and install cors package.
1npm i cors
Now open index.js and update it with the following code:
1const express = require("express")2const cors = require("cors")3const app = express()4const port = process.env.PORT || 300056const whitelist = ["http://localhost:3000"]7const corsOptions = {8 origin: function (origin, callback) {9 if (!origin || whitelist.indexOf(origin) !== -1) {10 callback(null, true)11 } else {12 callback(new Error("Not allowed by CORS"))13 }14 },15 credentials: true,16}17app.use(cors(corsOptions))1819app.get("/", (req, res) => {20 res.send({ message: "Hello World!" })21})2223app.listen(port, () => {24 console.log(`Example app listening at Port: ${port}`)25})
Here we check if the origin (client's domain) is in the whitelist, then we tell the clients that requests can be made. If it is not in the list then we throw an error saying the client is not allowed to make CORS requests to this server.
The domain should not have any trailing slashes (/)
We can deploy the changes to Heroku and see if this works.
Now if you reload your page, you should be able to see the message.
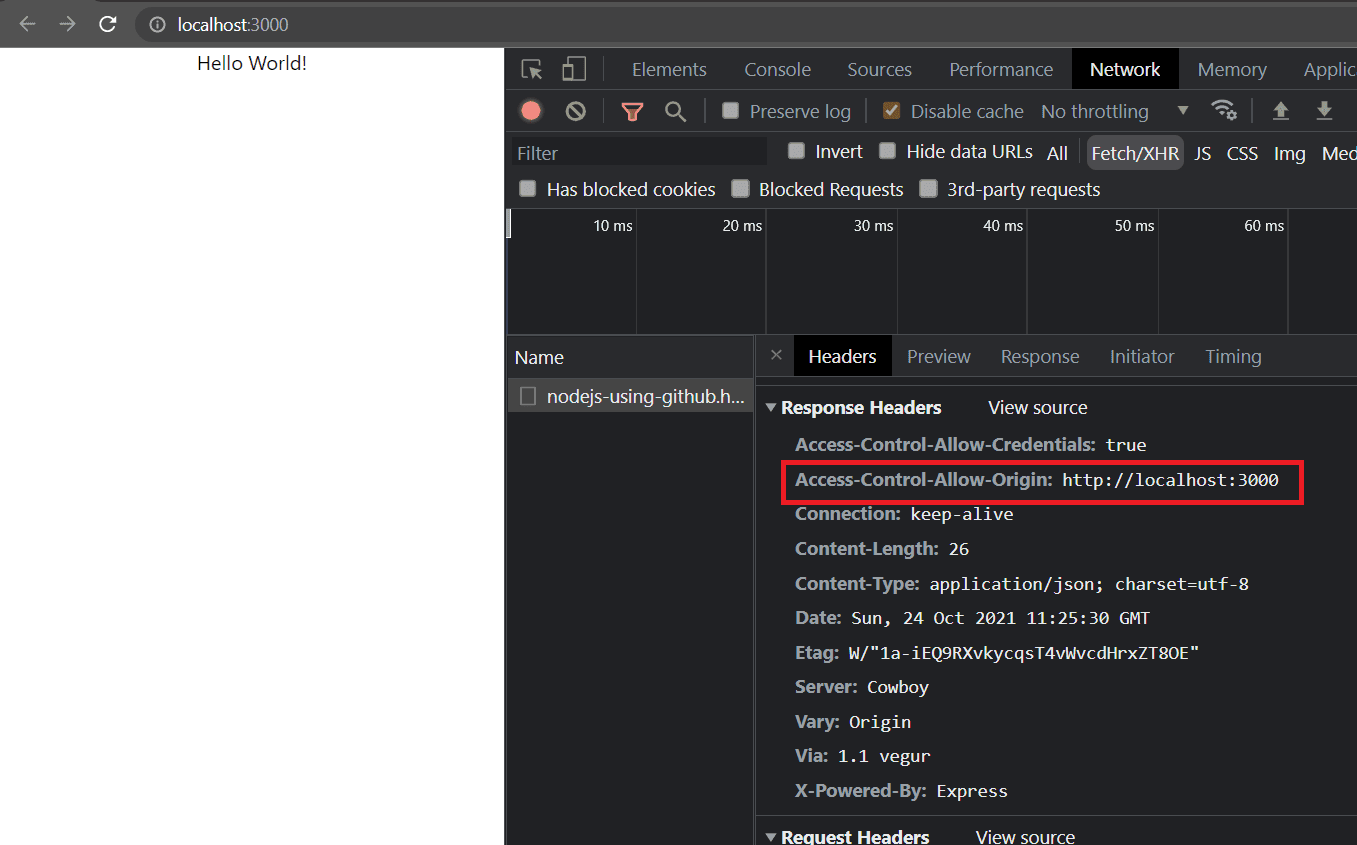
You will also see that a response header called Access-Control-Allow-Origin has been added with the value http://localhost:3000.
Making CORS domains configurable
If you have multiple client origins to be connected to you, and you want them to be configurable, you can do so by using environment variables:
1const express = require("express")2const cors = require("cors")3const app = express()4const port = process.env.PORT || 300056const domainsFromEnv = process.env.CORS_DOMAINS || ""78const whitelist = domainsFromEnv.split(",").map(item => item.trim())910const corsOptions = {11 origin: function (origin, callback) {12 if (!origin || whitelist.indexOf(origin) !== -1) {13 callback(null, true)14 } else {15 callback(new Error("Not allowed by CORS"))16 }17 },18 credentials: true,19}20app.use(cors(corsOptions))2122app.get("/", (req, res) => {23 res.send({ message: "Hello World!" })24})2526app.listen(port, () => {27 console.log(`Example app listening at Port: ${port}`)28})
Testing environment variables locally
To test environment variables locally, you can install the package called dotenv:
1npm i dotenv
Now create a file called .env in the root directory of your project with the domains:
1CORS_DOMAINS = http://localhost:3000, http://localhost:3001, https://example.com
Update index.js to use the dotenv package:
1const express = require("express")2const cors = require("cors")3const app = express()4const port = process.env.PORT || 300056if (process.env.NODE_ENV !== "production") {7 require("dotenv").config()8}910const domainsFromEnv = process.env.CORS_DOMAINS || ""1112const whitelist = domainsFromEnv.split(",").map(item => item.trim())1314const corsOptions = {15 origin: function (origin, callback) {16 if (!origin || whitelist.indexOf(origin) !== -1) {17 callback(null, true)18 } else {19 callback(new Error("Not allowed by CORS"))20 }21 },22 credentials: true,23}24app.use(cors(corsOptions))2526app.get("/", (req, res) => {27 res.send({ message: "Hello World!" })28})2930app.listen(port, () => {31 console.log(`Example app listening at Port: ${port}`)32})
Here we made sure that .env files are loaded only in non-production environments.
It is recommended to store the configurations in the server host rather than in .env files for production.
Remember to add
.env*to the.gitignorefile so that you don't accidentally push them to the repo.
Configuring environment files in heroku
With our latest code, we can configure environment files in the heroku settings:
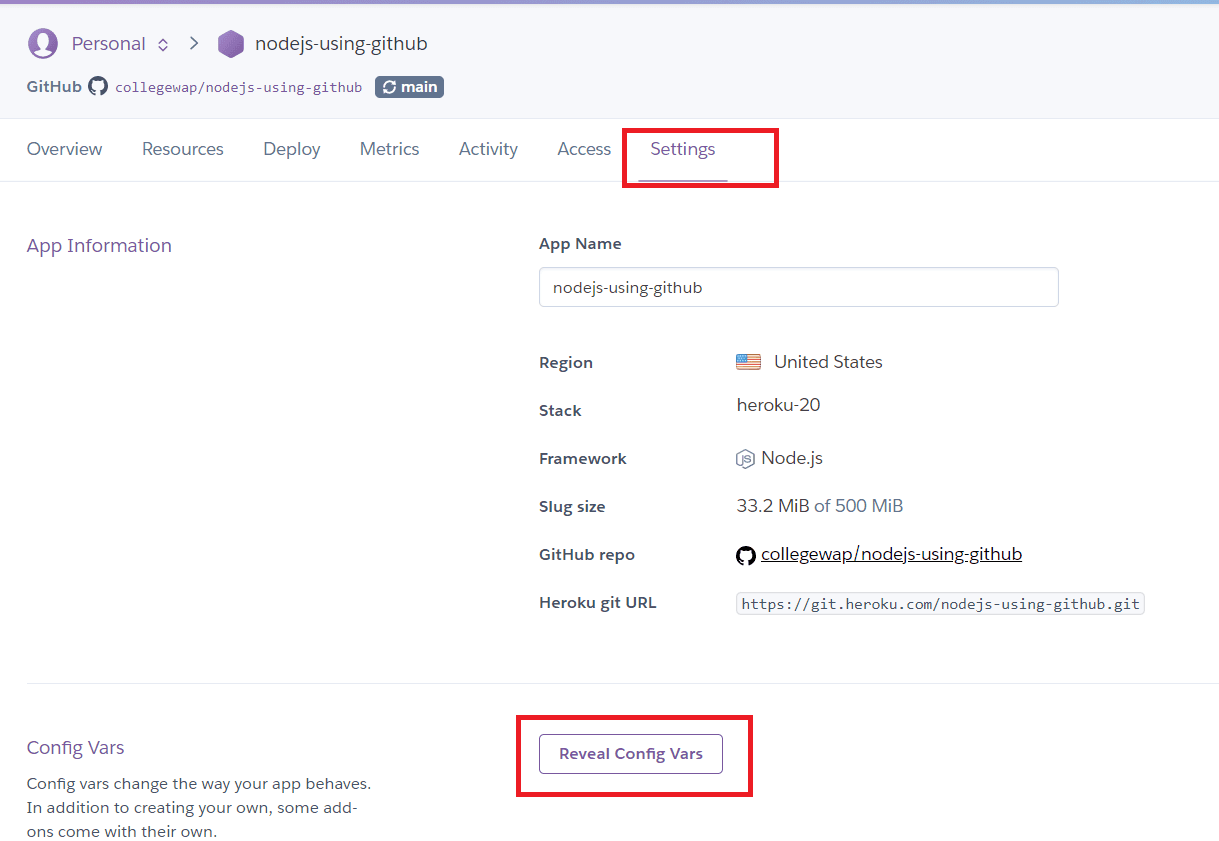
Go to your project settings and click on "Reveal Config Vars". Now you can provide the key and values here and click on "Add"
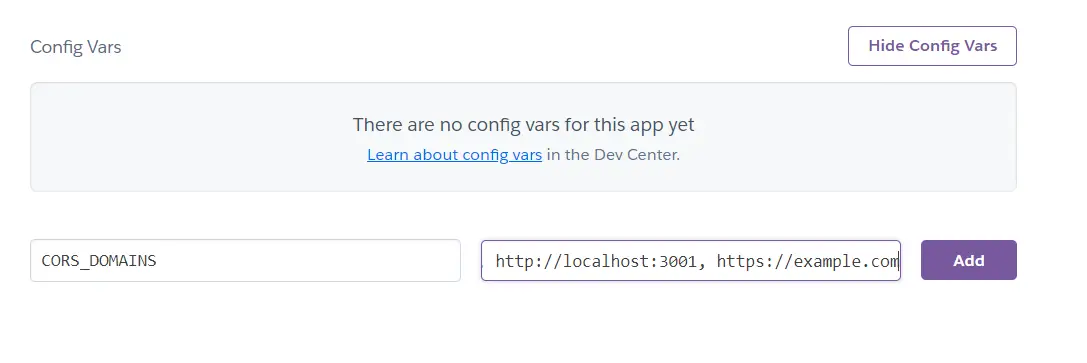
Once added, you can push your changes and see if the changes work.
If you have liked article, do follow me on twitter to get more real time updates!