
Table of Contents
Have you started using Next.js recently and wanted to learn how to navigate to different pages? You are in the right place. In this article, we will see how to navigate in Next.js using the Link component.
Setting up the project
First, create a new Next.js project using the following command:
1npx create-next-app@latest next-links
Create a component named about inside the pages directory.
1import React from "react"23const About = () => {4 return <div>This is about page</div>5}67export default About
Now update the index.js with a link to the about page.
1export default function Home() {2 return (3 <div>4 <a href="/about">About</a>5 </div>6 )7}
If you start the application using npm run dev and run the application, the navigation will work just fine.
However, there are some disadvantages of linking like this:
- When you click on About, it will make a request to the server and reload the entire page, which will slow down the page loading.
- When we use
atag directly, it will not be able to pre-fetch the resources, which we will see in the next sections.
Using the Next.js Link component
Next.js provides the Link component for navigating between pages. You can use it as shown below:
1import Link from "next/link"2export default function Home() {3 return (4 <div>5 <Link href="/about">6 <a>About</a>7 </Link>8 </div>9 )10}
Note that the href attribute has shifted from a tag to the Link component.
Next.js will add the href to the a tag while rendering the page.
pre-fetching the page
Say there are 5 links visible on a page. By default, in production, Next.js will pre-fetch the data required to load all these 5 pages. This helps in loading the next page instantaneously.
You can create a production build by running npm run build and serve the build locally using the command npm start.
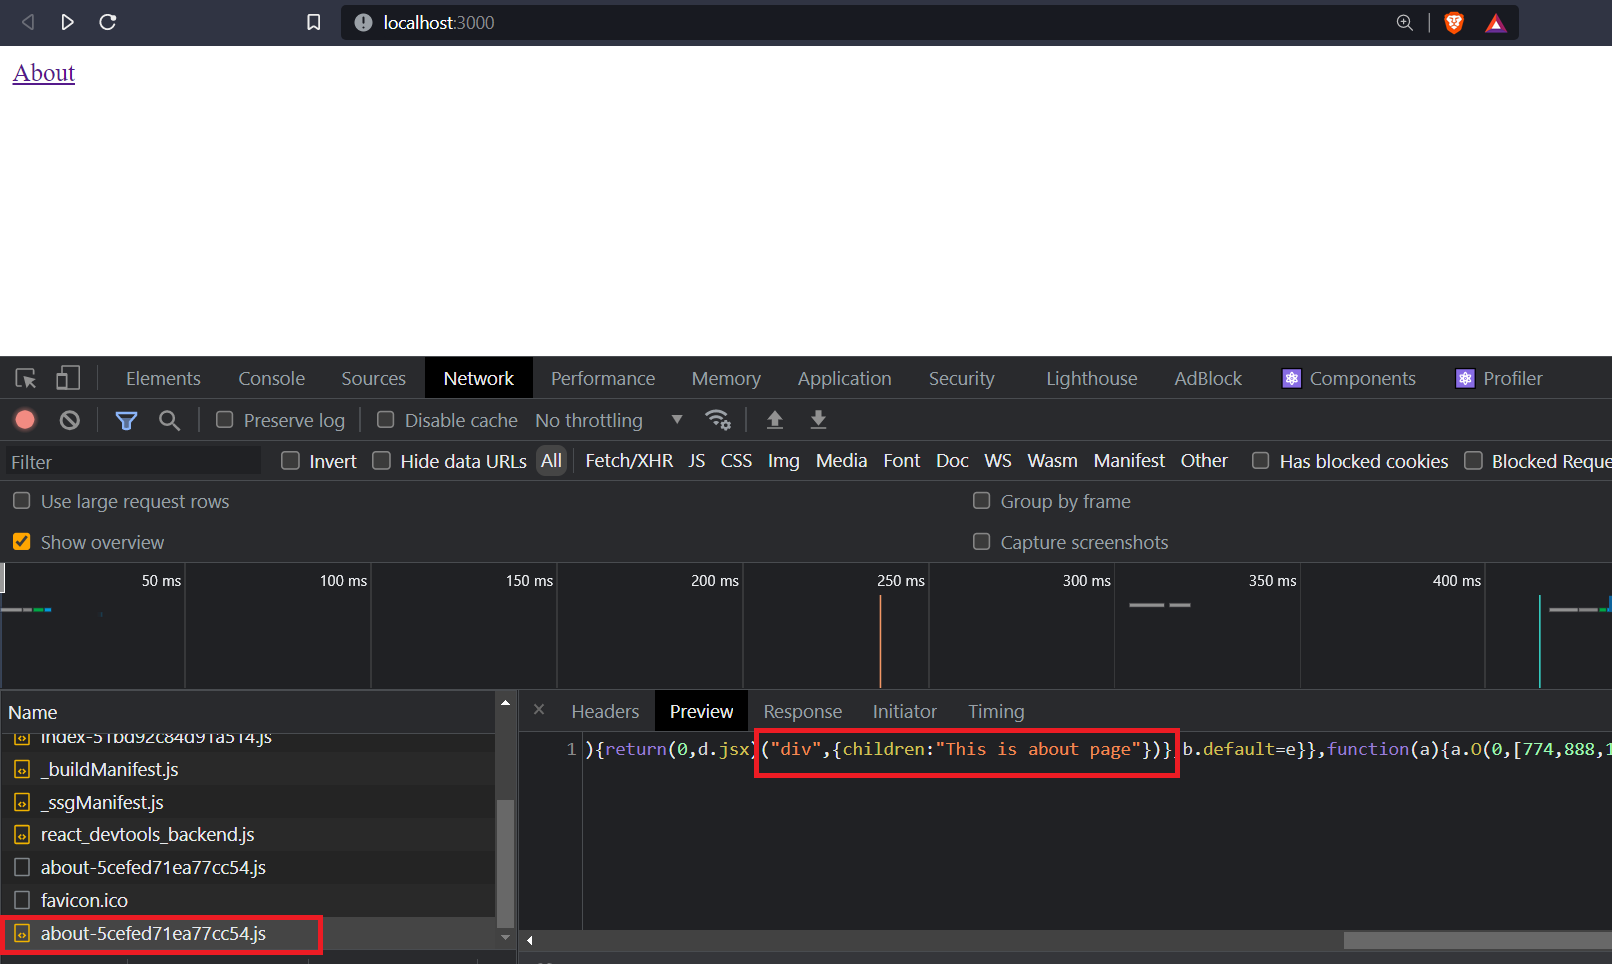
If you open the network tab (F12) in the browser and check the requests, you will see the pre-fetch happening.
If you need to disable pre-fetching, you can do so by passing prefetch={false} to the Link component.
Passing data to the next page
If you need to pass data in the URL as query parameters, you can do so using the following code:
1import Link from "next/link"2export default function Home() {3 return (4 <div>5 <Link6 href={{7 pathname: "/about",8 query: { foo: "bar" },9 }}10 >11 <a>About</a>12 </Link>13 </div>14 )15}
If you click on the About link, you will be navigated to http://localhost:3000/about?foo=bar
Navigating programmatically to a page
If you need to navigate to the about page when a button is clicked, you can do so by using the router component from Next.js.
1import { useRouter } from "next/router"2export default function Home() {3 const router = useRouter()4 return (5 <div>6 <div>7 <button onClick={() => router.push("/about")}>Go to about</button>8 </div>9 </div>10 )11}
Pass href to child component
If you need to render a component inside the Link tag, then to get access to the value of href attribute,
you will have to pass passHref={true} to the Link component.
1import React, { forwardRef } from "react"2import Link from "next/link"34const BeautifulLink = forwardRef(function BeautifulLink(5 { onClick, href },6 ref7) {8 return (9 <a href={href} onClick={onClick} ref={ref}>10 About11 </a>12 )13})1415export default function Home() {16 return (17 <div>18 <Link href="/about" passHref>19 <BeautifulLink />20 </Link>21 </div>22 )23}
Note that we need to pass the onClick, and ref props so that the Next.js can handle the links properly.
Links with active class name
If you need to add a specific class name to the active link you can do so by comparing the URL with the path.
First, add the active class to the global.css. The global.css is referenced in _app.js file.
1a {2 padding: 1rem;3}4a.active {5 background-color: antiquewhite;6}
Now create a folder called components and a file named Navigate.js inside it.
1import React from "react"2import Link from "next/link"3import { useRouter } from "next/router"45const Navigate = () => {6 const router = useRouter()7 const pathname = router.pathname8 return (9 <div>10 <Link href="/">11 <a className={pathname === "/" ? "active" : ""}>Home</a>12 </Link>13 <Link href="/about">14 <a className={pathname === "/about" ? "active" : ""}>About</a>15 </Link>16 </div>17 )18}1920export default Navigate
Here, we check if the current path matches the path in the link, and assigns a class name active to it.
Now update index.js and about.js to use the Navigate component.
1import Navigate from "../components/Navigate"2export default function Home() {3 return (4 <div>5 <Navigate />6 <p>This is home page</p>7 </div>8 )9}
1import React from "react"2import Navigate from "../components/Navigate"34const About = () => {5 return (6 <div>7 <Navigate />8 <p>This is about page</p>9 </div>10 )11}1213export default About
There are other ways to achieve the same. However, I like this approach.
If you have liked article, do follow me on twitter to get more real time updates!