
Table of Contents
In my previous articles, I have explained how to deploy react applications to Google Cloud and AWS.
In this article, we will see how to deploy a react application to the Microsoft Azure cloud.
Project setup
Create a react app using the following command:
1npx create-react-app react-azure-deployment
Create a file named web.config with the following content at the root of the project.
This is required only if you have different routes in your application.
1<?xml version="1.0"?>2<configuration>3 <system.webServer>4 <rewrite>5 <rules>6 <rule name="React Routes" stopProcessing="true">7 <match url=".*" />8 <conditions logicalGrouping="MatchAll">9 <add input="{REQUEST_FILENAME}" matchType="IsFile" negate="true" />10 <add input="{REQUEST_FILENAME}" matchType="IsDirectory" negate="true" />11 <add input="{REQUEST_URI}" pattern="^/(api)" negate="true" />12 </conditions>13 <action type="Rewrite" url="/" />14 </rule>15 </rules>16 </rewrite>17 </system.webServer>18</configuration>
Creating an App Service (Web App)
If you do not have an Azure account, create one using the link https://azure.microsoft.com/en-in/free/
Once the account is created, log in to the Azure portal.
Click on App Services at the top. This will list the available app services.

If you have created a new account, there will not be any App services to list. So let's create a new one by clicking the plus sign highlighted below:

In the screen that follows, provide the following inputs
- Create a new resource group: codingdeft-react-demo_group
- Name as codingdeft-react-demo
- Run time stack: Node 16 LTS (or any latest version)
- Operating system: Windows
- Region: East US (or leave as default)
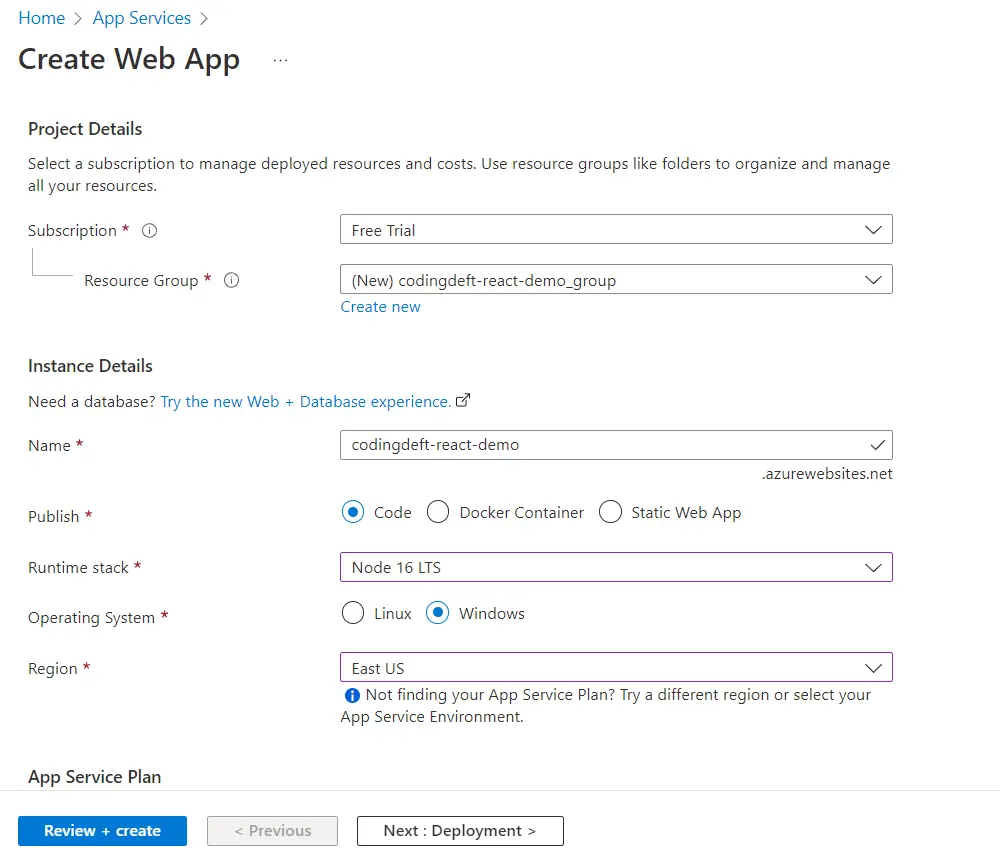
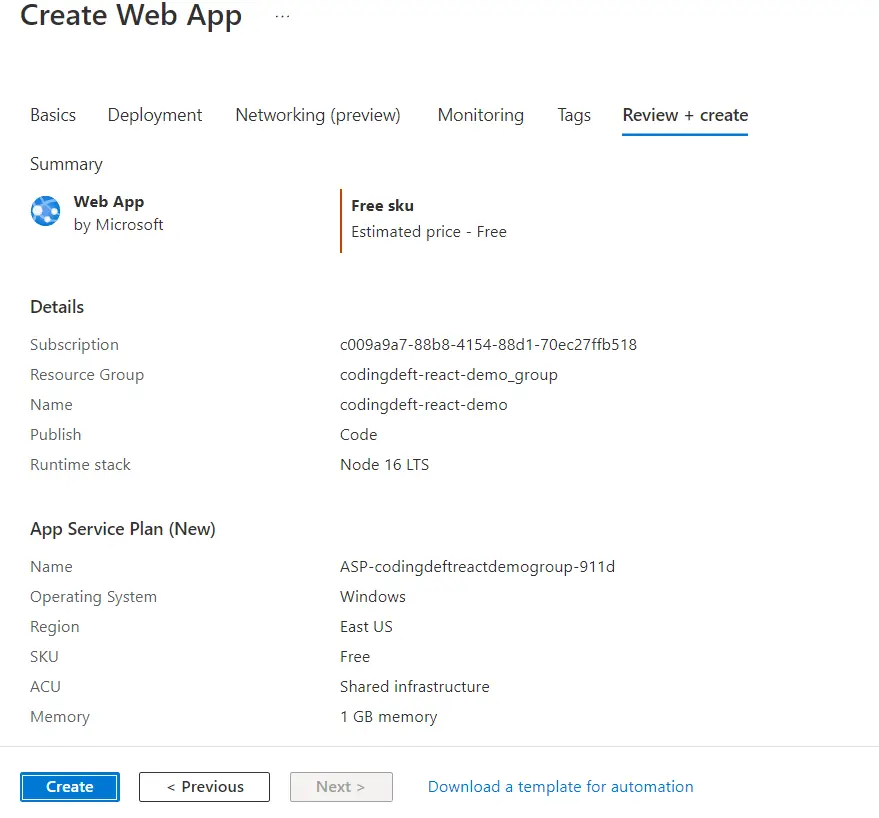
Click on the Review + Create button.
Once the review is completed, click on the Create button.
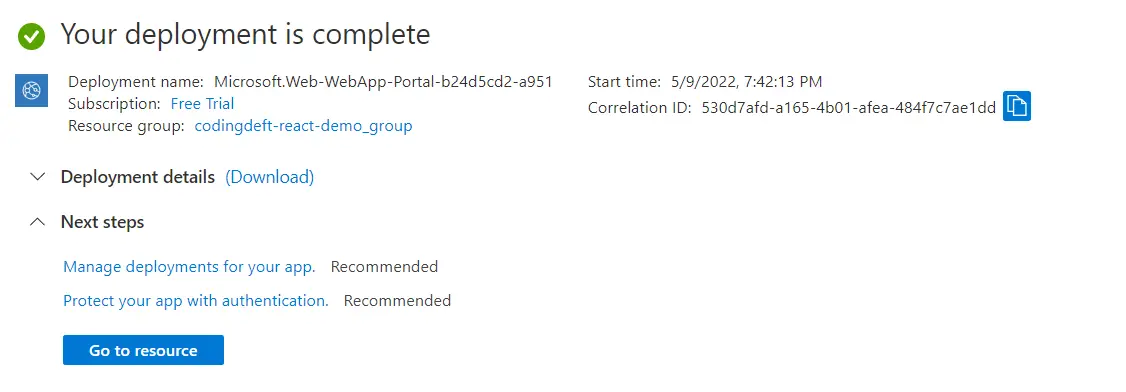
Wait for some time for the app to be created and the deployment to be done.
Once the deployment is complete, click on Go to resource button.
Now this will open a screen as shown below:
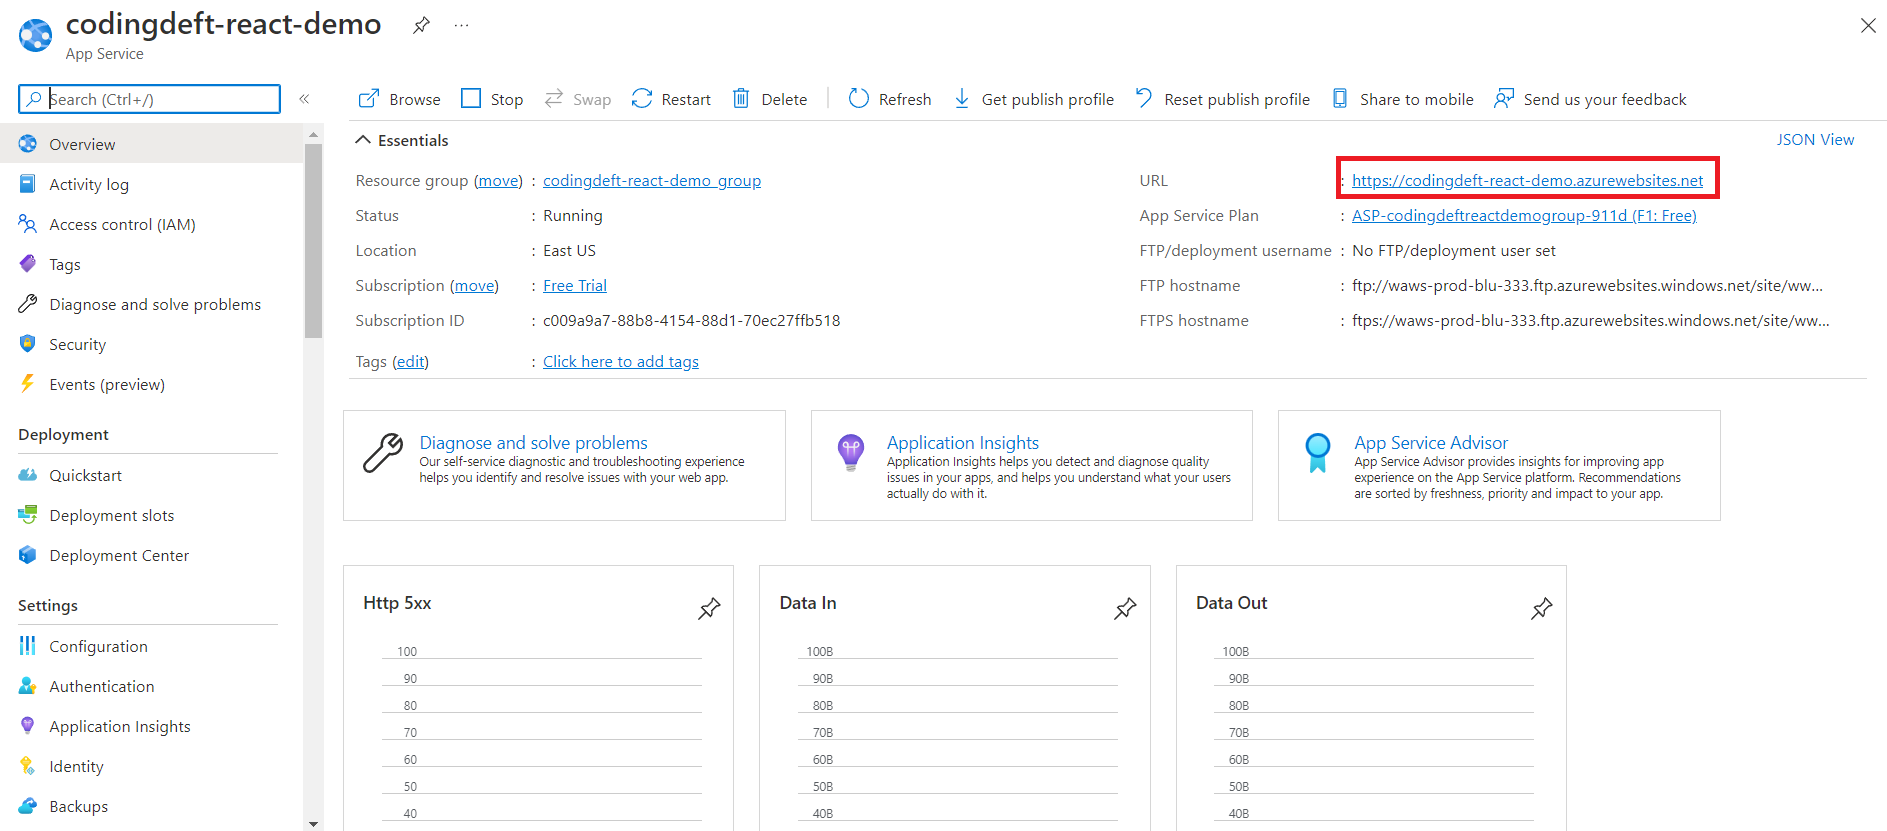
Here if you click on the URL: https://[your-webapp-name].azurewebsites.net (highlighted above), it will load a page with a default content from Microsoft. We are going to deploy our react app to the same URL.
Creating a DevOps account
To create a pipeline to deploy our code to Azure WebApp, we need to create a DevOps account first. You can create one using the link: https://azure.microsoft.com/en-us/services/devops/
Once signed up, it will redirect to a page as shown below:
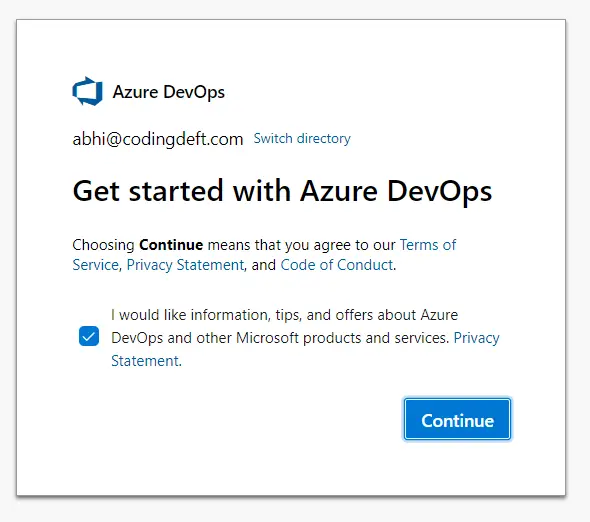
Click on Continue.
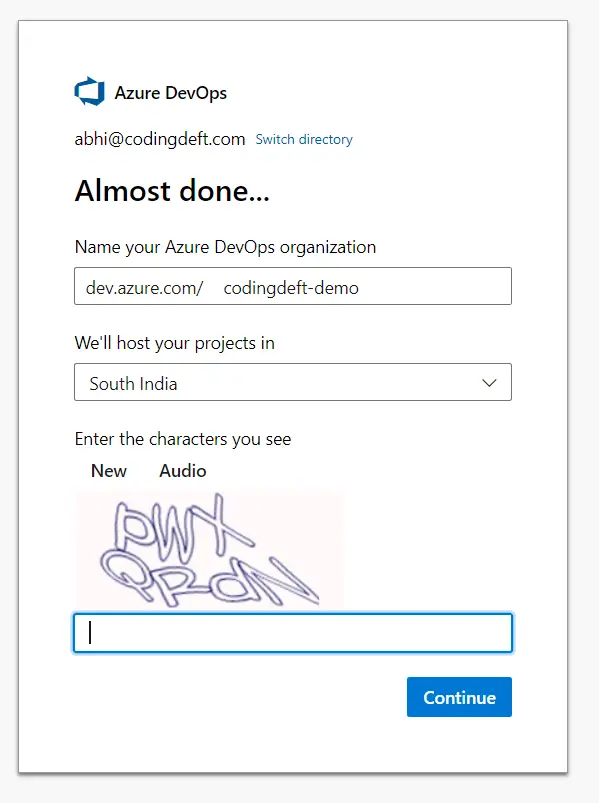
Provide the organization name of your choice, solve the captcha, and click on Continue.
In the following screen, provide the project name as react-azure-deployment and click on Create Project

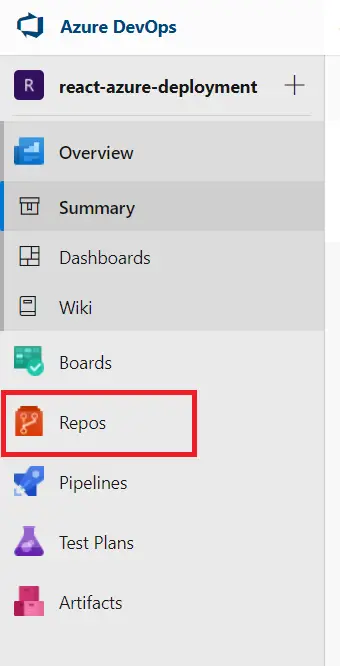
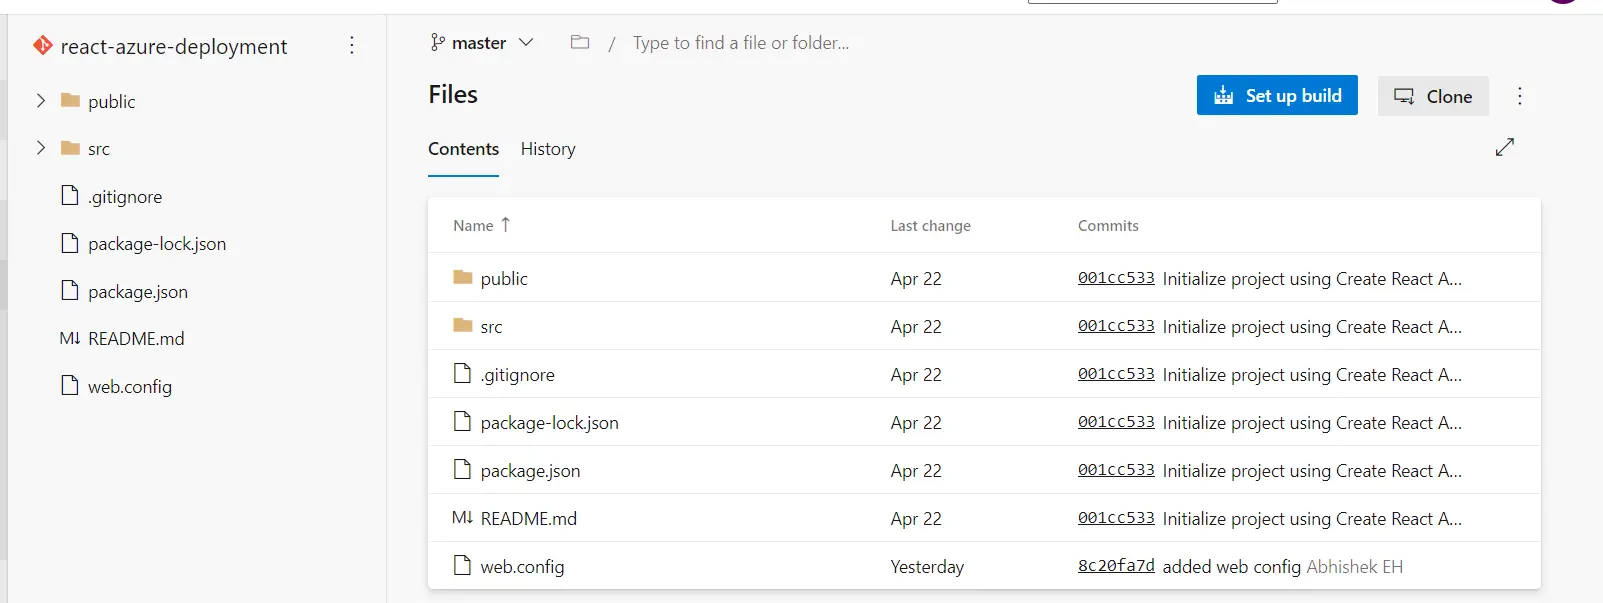
Once the project is created click on Repos on the left:
Now commit your code from the command prompt by navigating to your project directory and running the following command:
1git init2git add .3git commit -m "first Commit"
Once the commit is completed, navigate to the Azure DevOps and copy the command from the second option and run it in the command prompt.
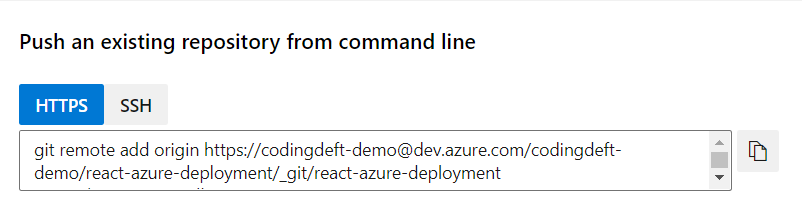
It may show a popup to log in to your account. Once logged in the code will be pushed to the DevOps.
You can confirm it by refreshing the DevOps portal:
Creating a build pipeline
Before deploying, we need to build the code. We will automate the build process by creating a pipeline for it.
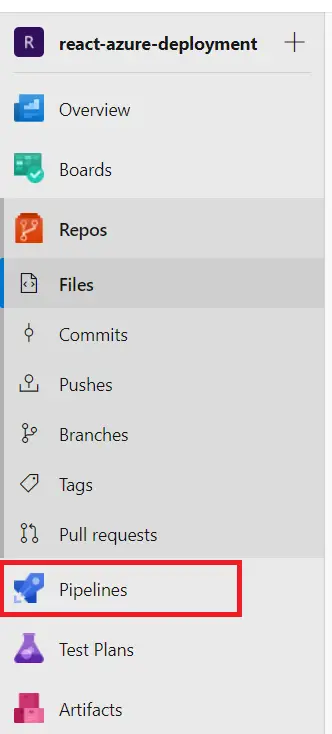
Click on Pipelines on the left:
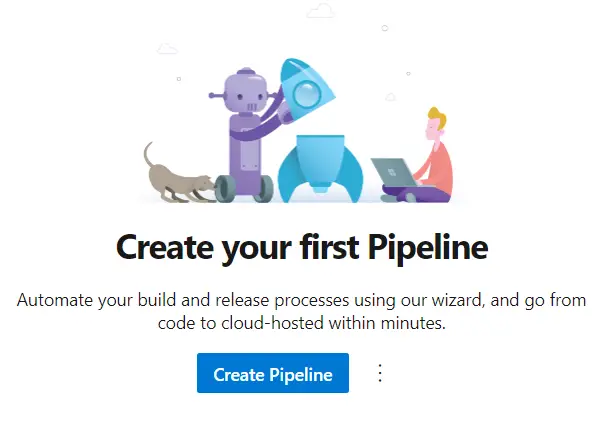
Click on Create Pipeline.
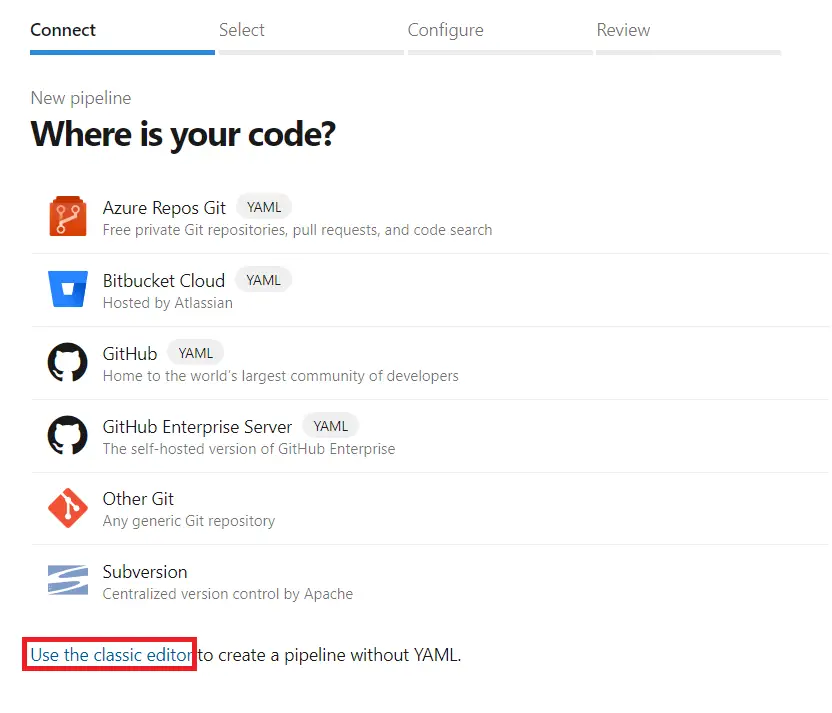
Click on Use the classic editor link highlighted below:
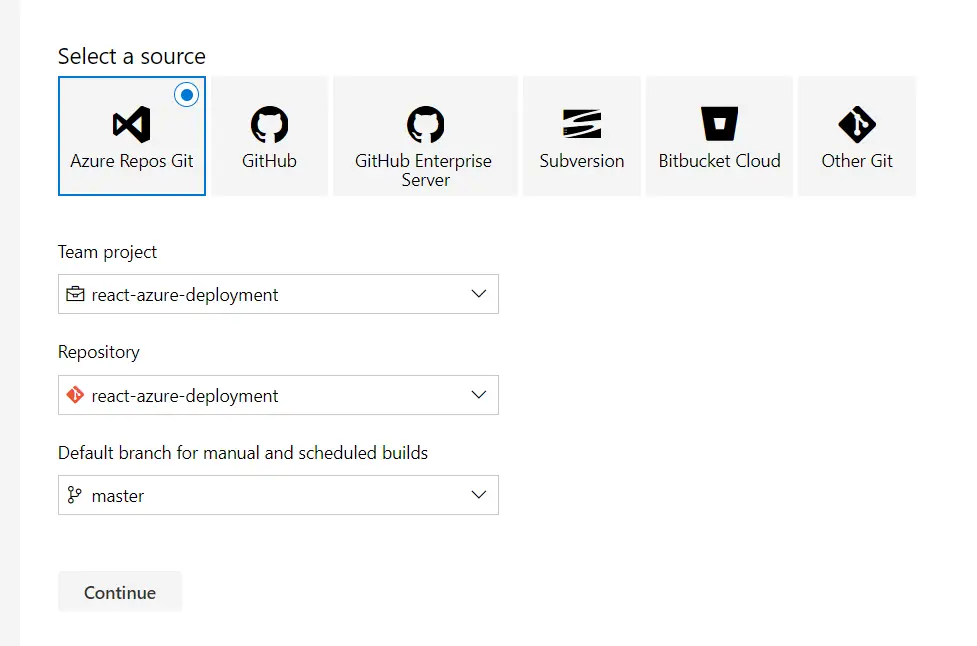
Select the source (leave as default) and click on Continue
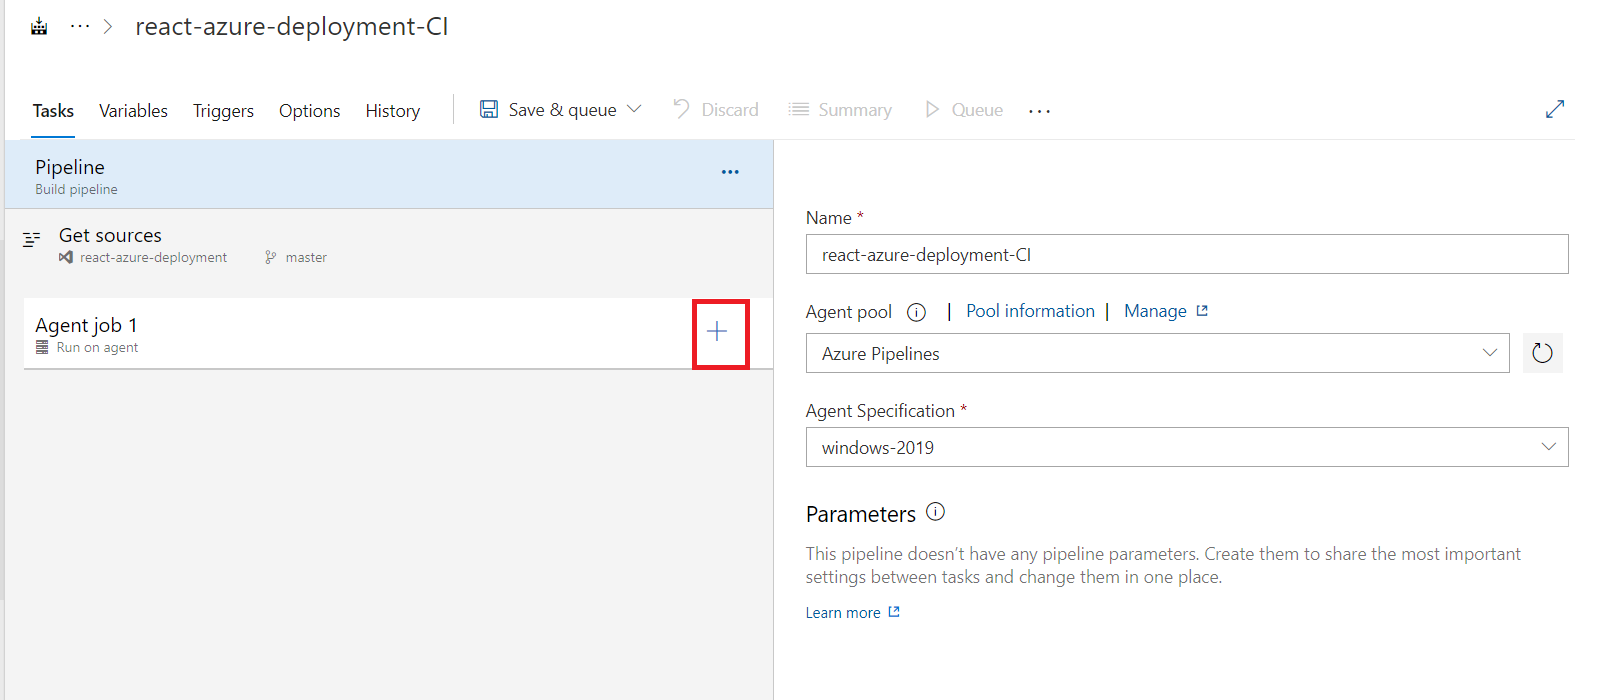
Now click on Empty Job at the top:

On the next screen, click on the Plus sign next to Agent Job 1
Now search for npm and click on Add
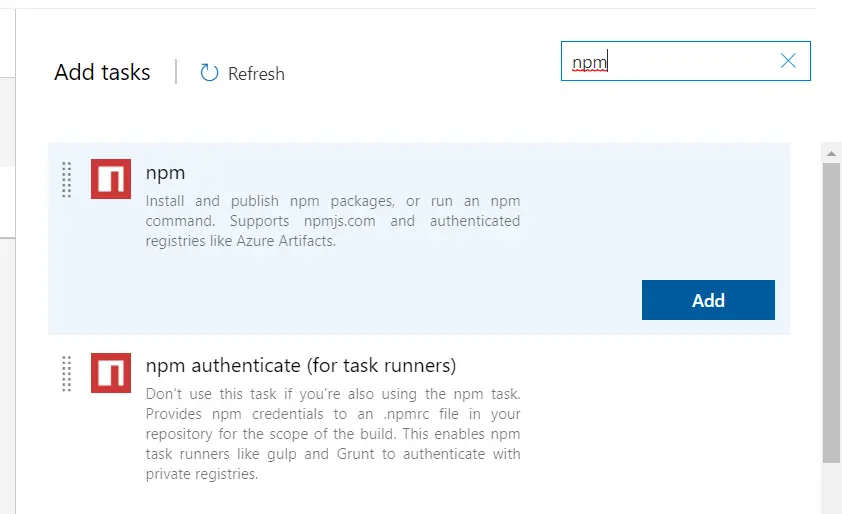
This will add an npm install step.
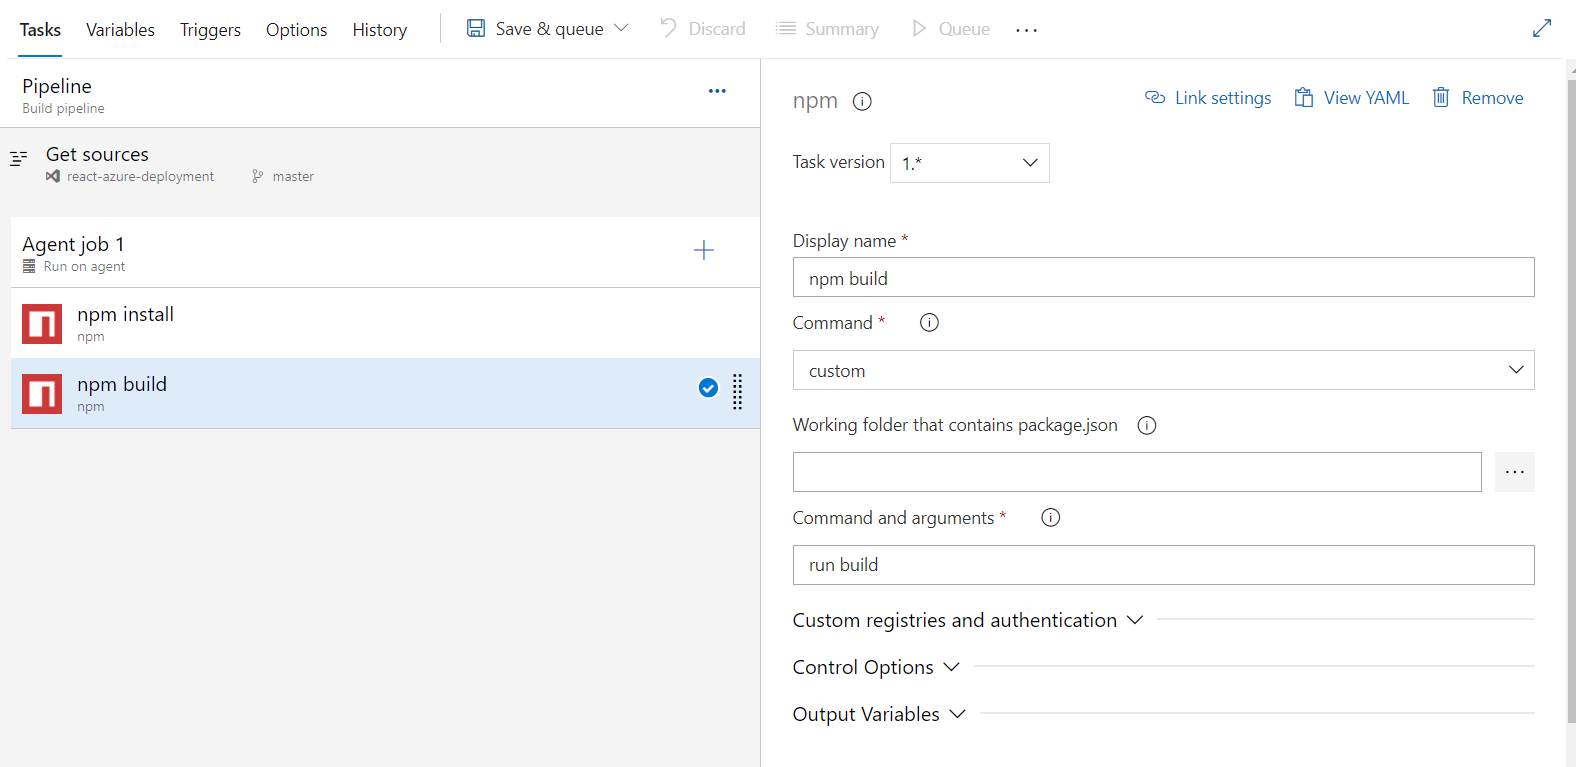
Click on Add again on npm and update it with the following details:
- Display Name: npm build
- Command: custom
- Command and arguments: run build
Now search for Publish build artifacts and add it to Agent job 1.
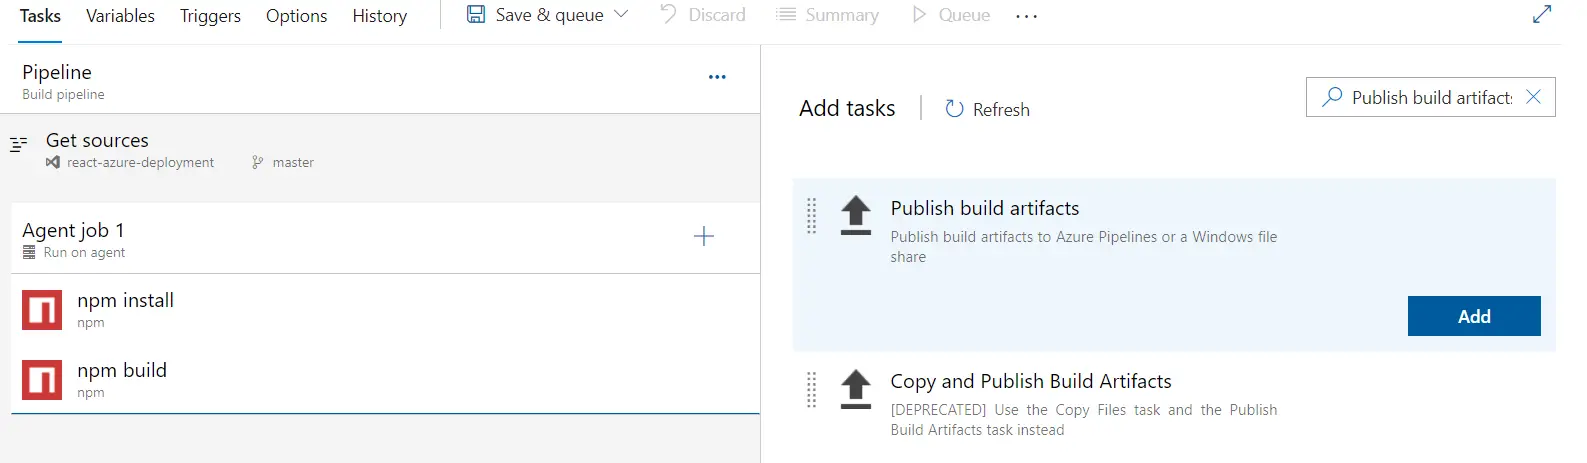
Here update the Artifact name to build

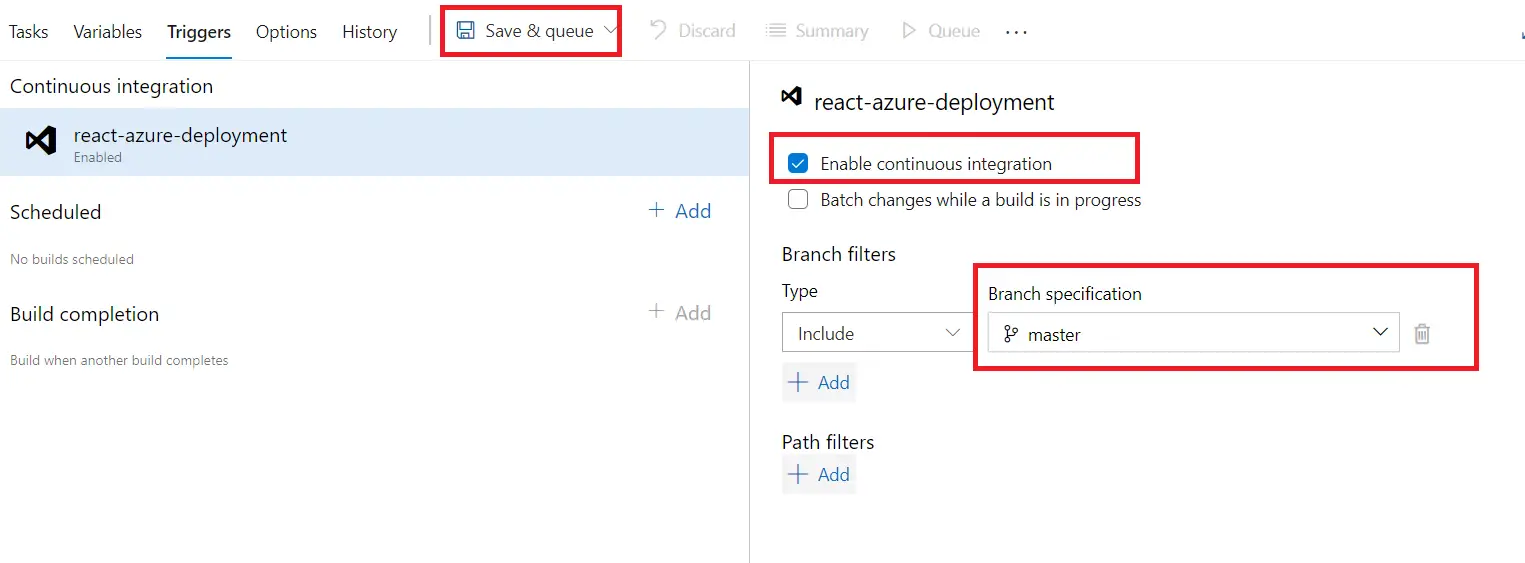
Click on the Triggers tab at the top and check the option Enable continuous integration and choose the branch you want to build.
This will ensure that each time you push a change to the specified branch, a build will be triggered automatically.
Now click on Save and Queue at the top. Add a Save comment and click on Save and run.
If you are building for the first time, you will get the following error:
1No hosted parallelism has been purchased or granted. To request a free parallelism grant, please fill out the following form https://aka.ms/azpipelines-parallelism-request
You can go to https://aka.ms/azpipelines-parallelism-request and request for parallelism grant and it would take 24 to 48 hours for approval.
Once you got the parallelism grant, you can retrigger the build by opening the pipeline and clicking on Run pipeline at the top.

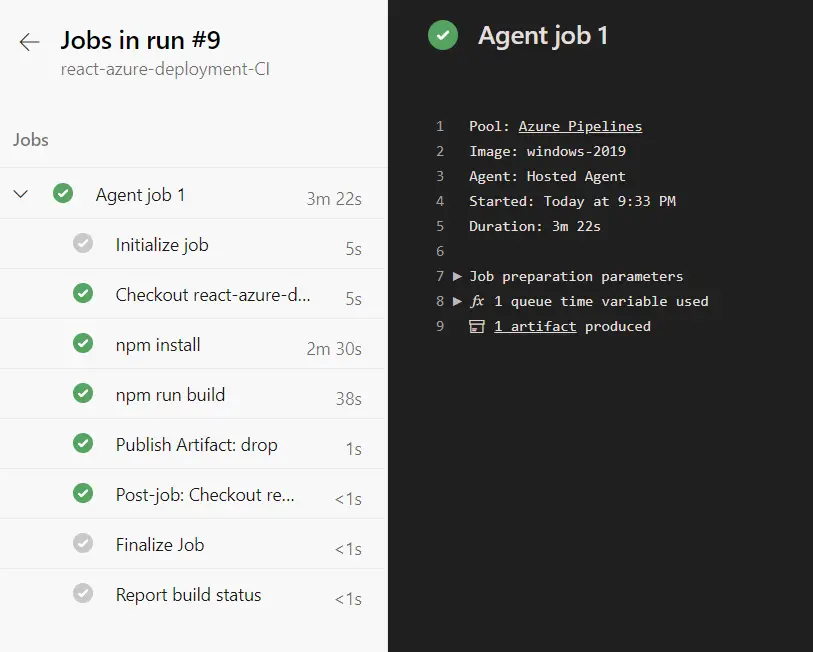
Once the build is completed you should be able to see a similar screen as shown below:
Deploying the code
Now the code is built, we can deploy it to WebApp.
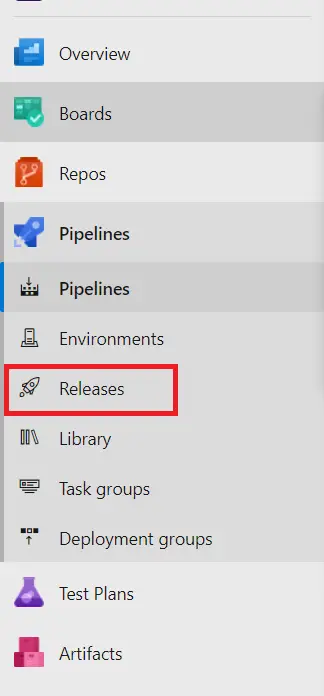
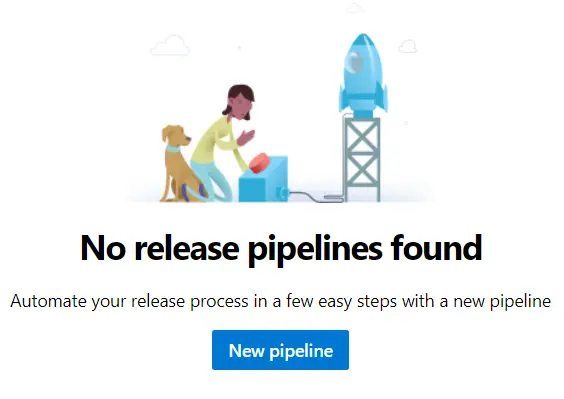
Click on Releases at the left.
Now click on New pipeline
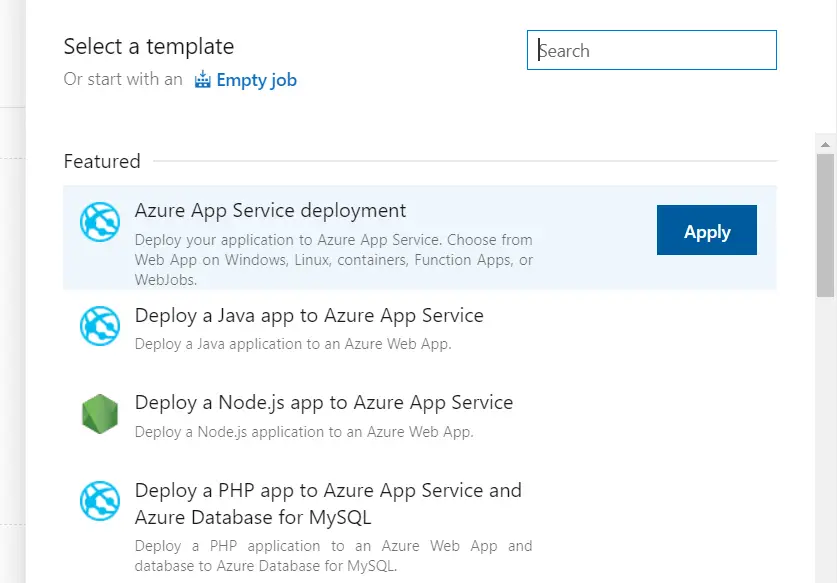
From the templates, select Azure App Service deployment and click Apply:
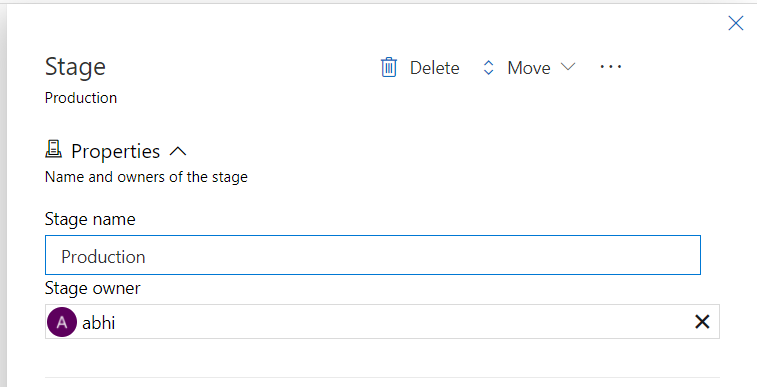
When asked for stage give as Production and close the modal.
Click on Add an artifact and choose the Source as shown below:
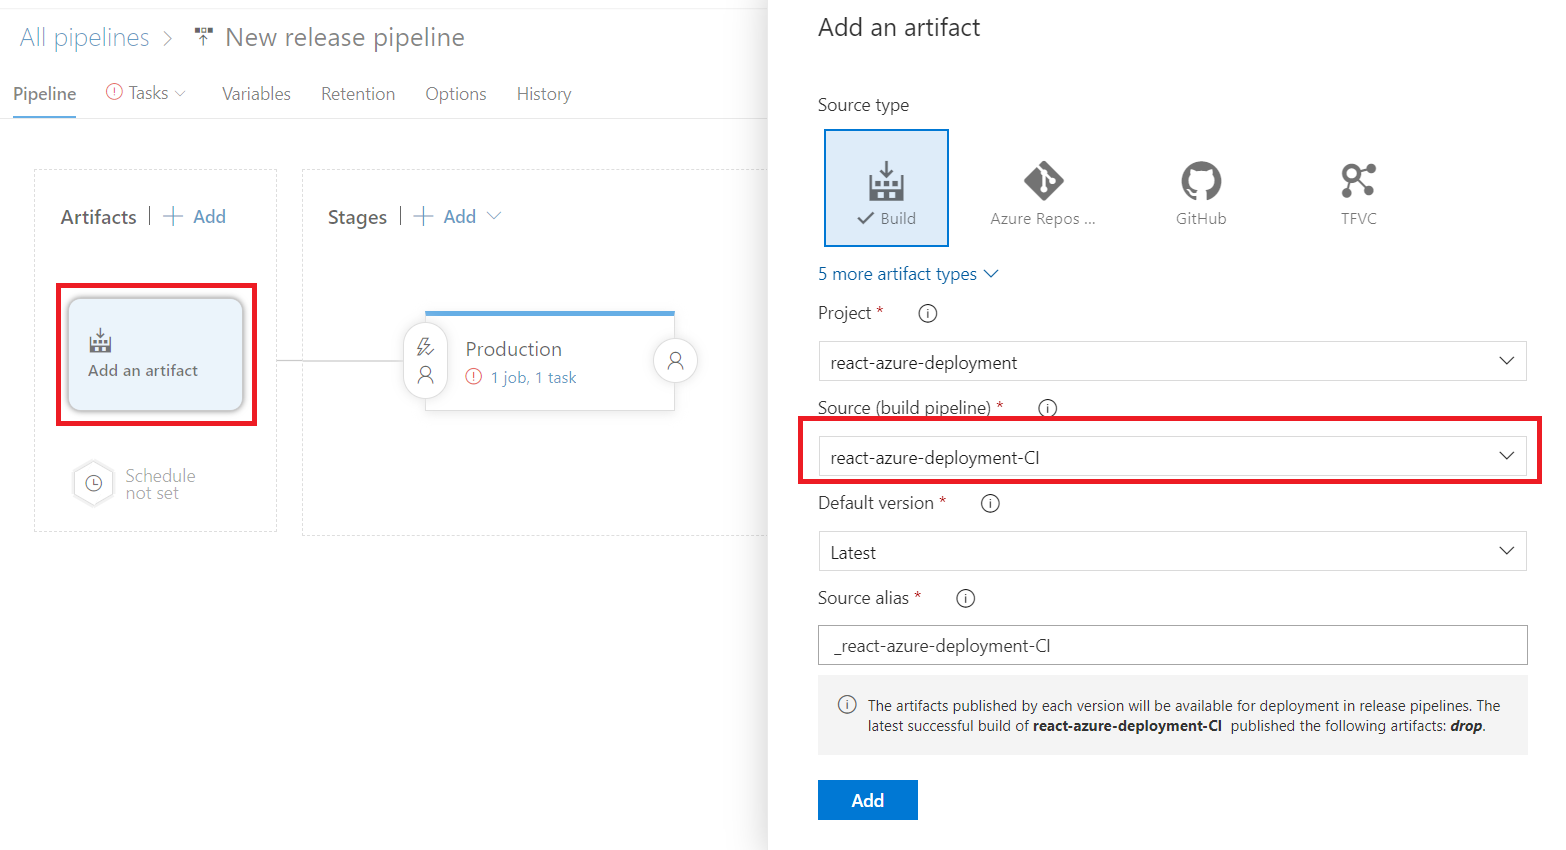
Now click on Add button.
Click on the lightning symbol in the Artifact section and enable the Continuous deployment trigger. Add a filter and choose the branch from which the code needs to be deployed and close the modal.

This will ensure that the deployment gets triggered each time there is a build created for the master branch.
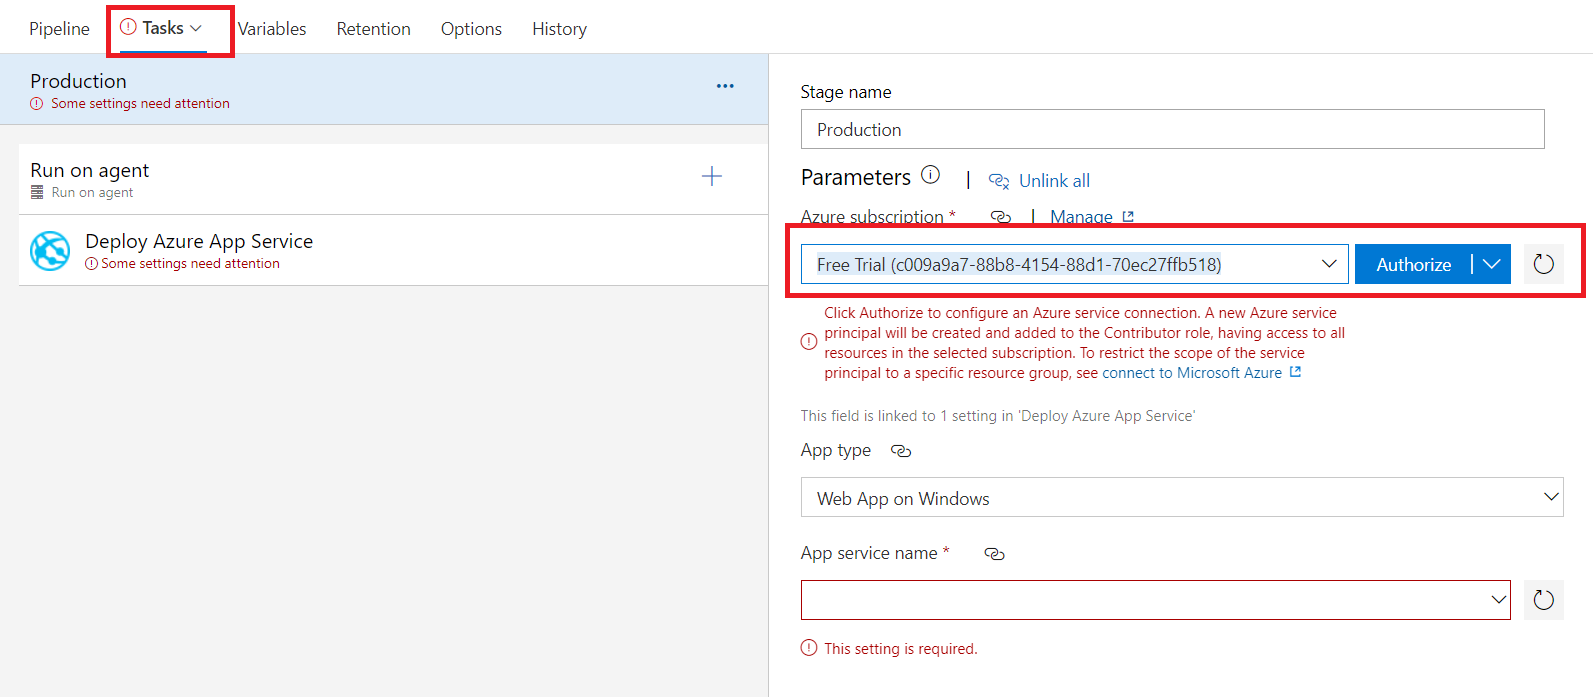
Now click on the Tasks tab and choose the Azure subscription. It will ask you to authorize. Click on Authorize
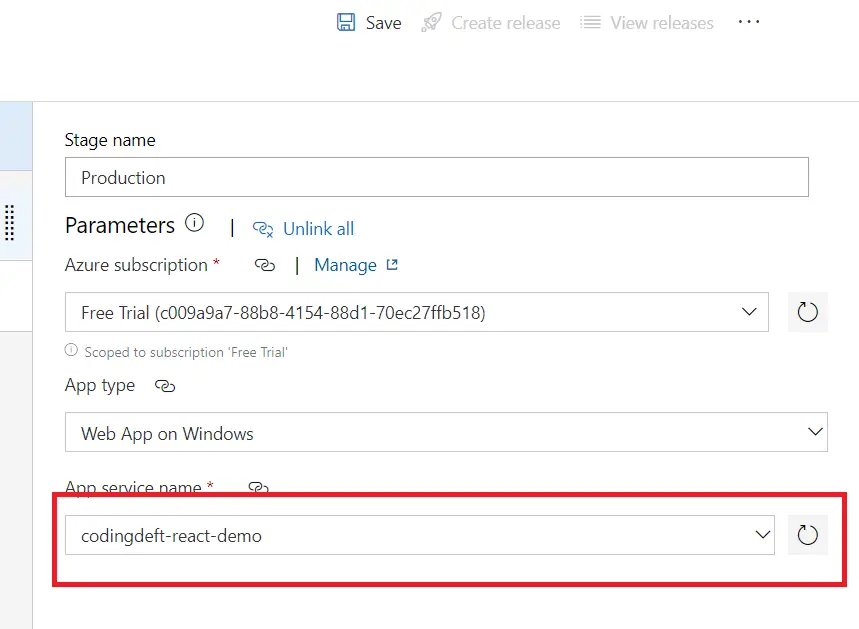
Once authorized, choose the WebApp.
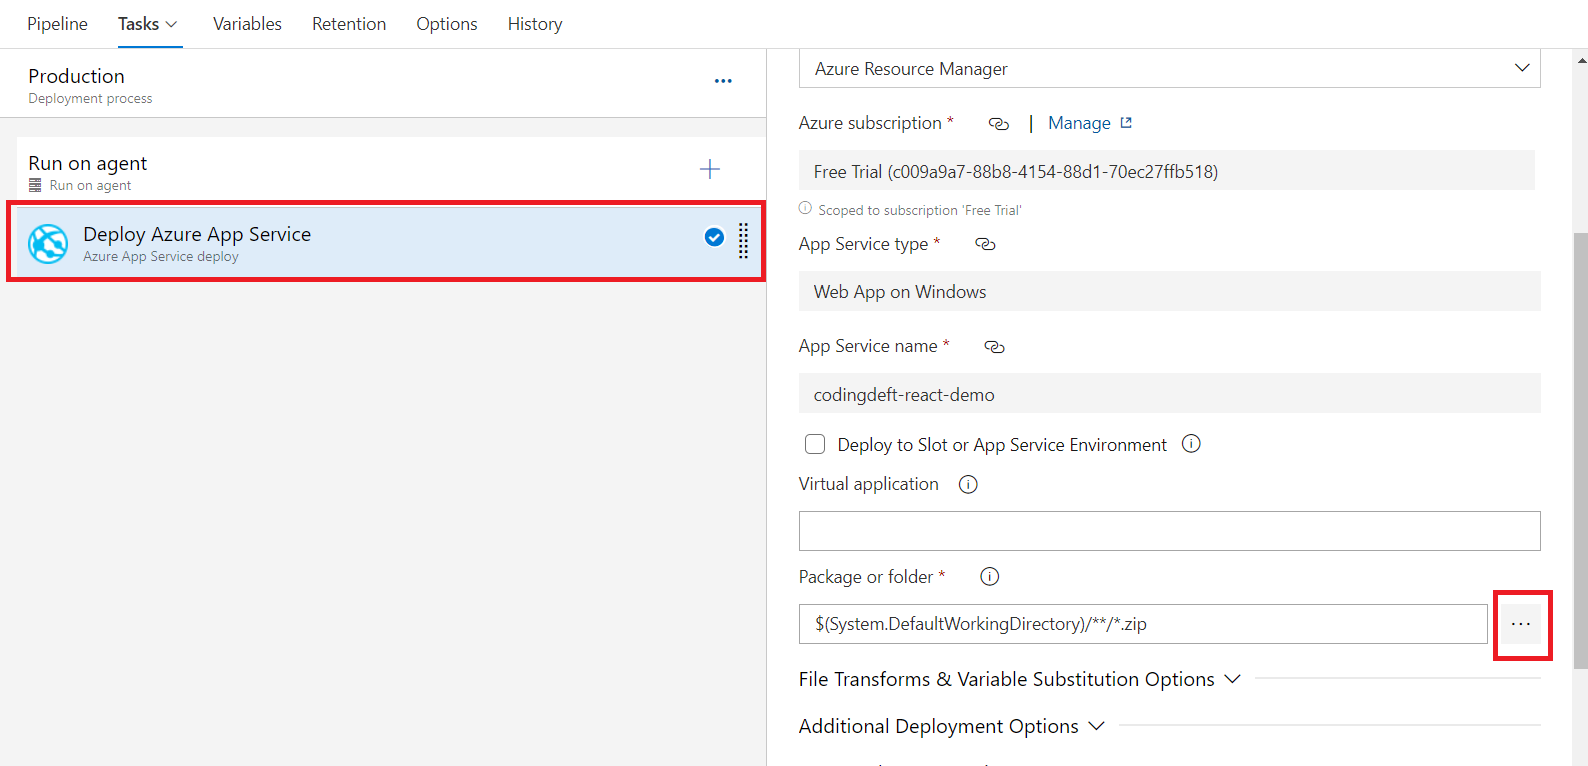
Now click on Deploy Azure App Service and click on the three dots next to Package or folder
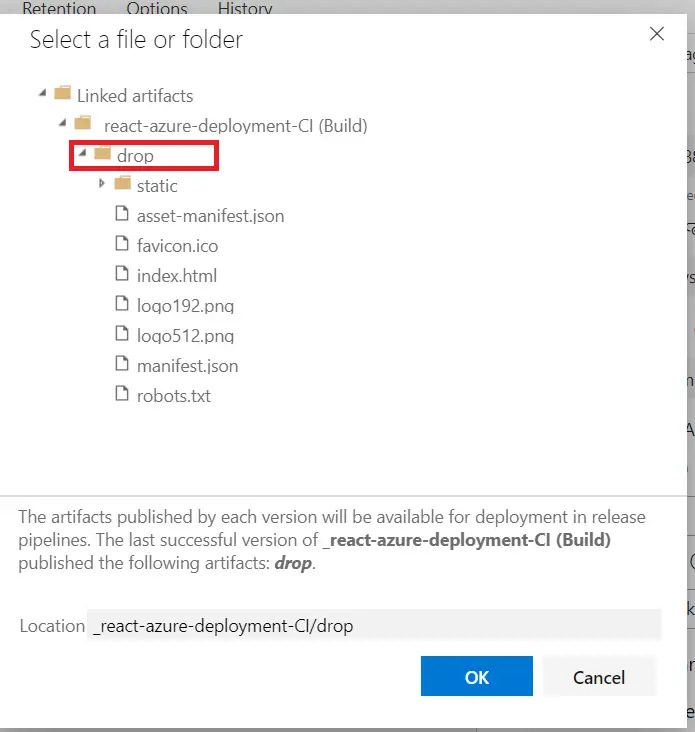
Select the drop folder and click Ok
Now click on Save at the top. Don't change anything in the popup and click Ok.
Now click on Create release at the top, next to the Save button:

In the popup that follows, do not change anything and click on Create.
Now a release will be queued and you will see a message as shown below

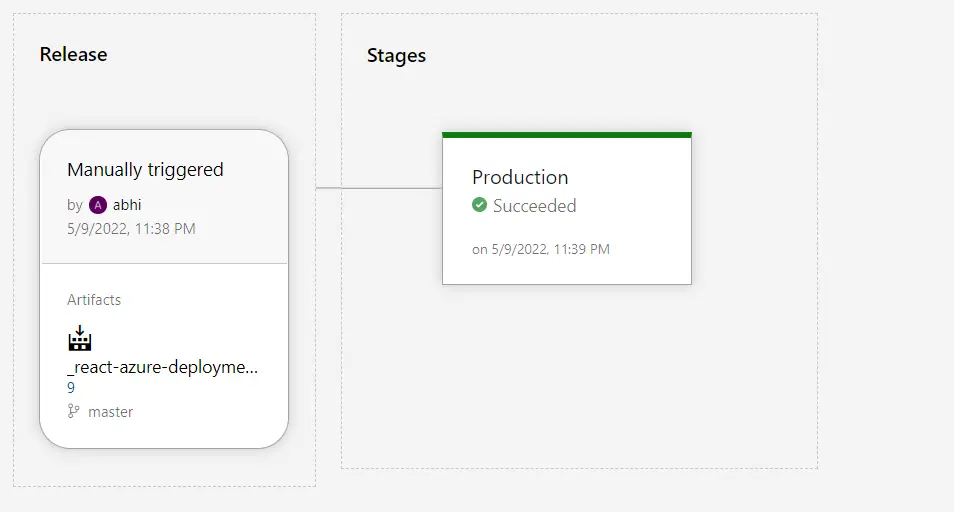
Clicking on the link on the message should take you to the release details page, where you can see the deployment progress.
Once the deployment is complete, you should be able to see a success screen as shown below:
Now if you access https://[your-webapp-name].azurewebsites.net (https://codingdeft-react-demo.azurewebsites.net/ in my case), you should be able to see your code deployed.
If you have liked article, do follow me on twitter to get more real time updates!